
Content
Content
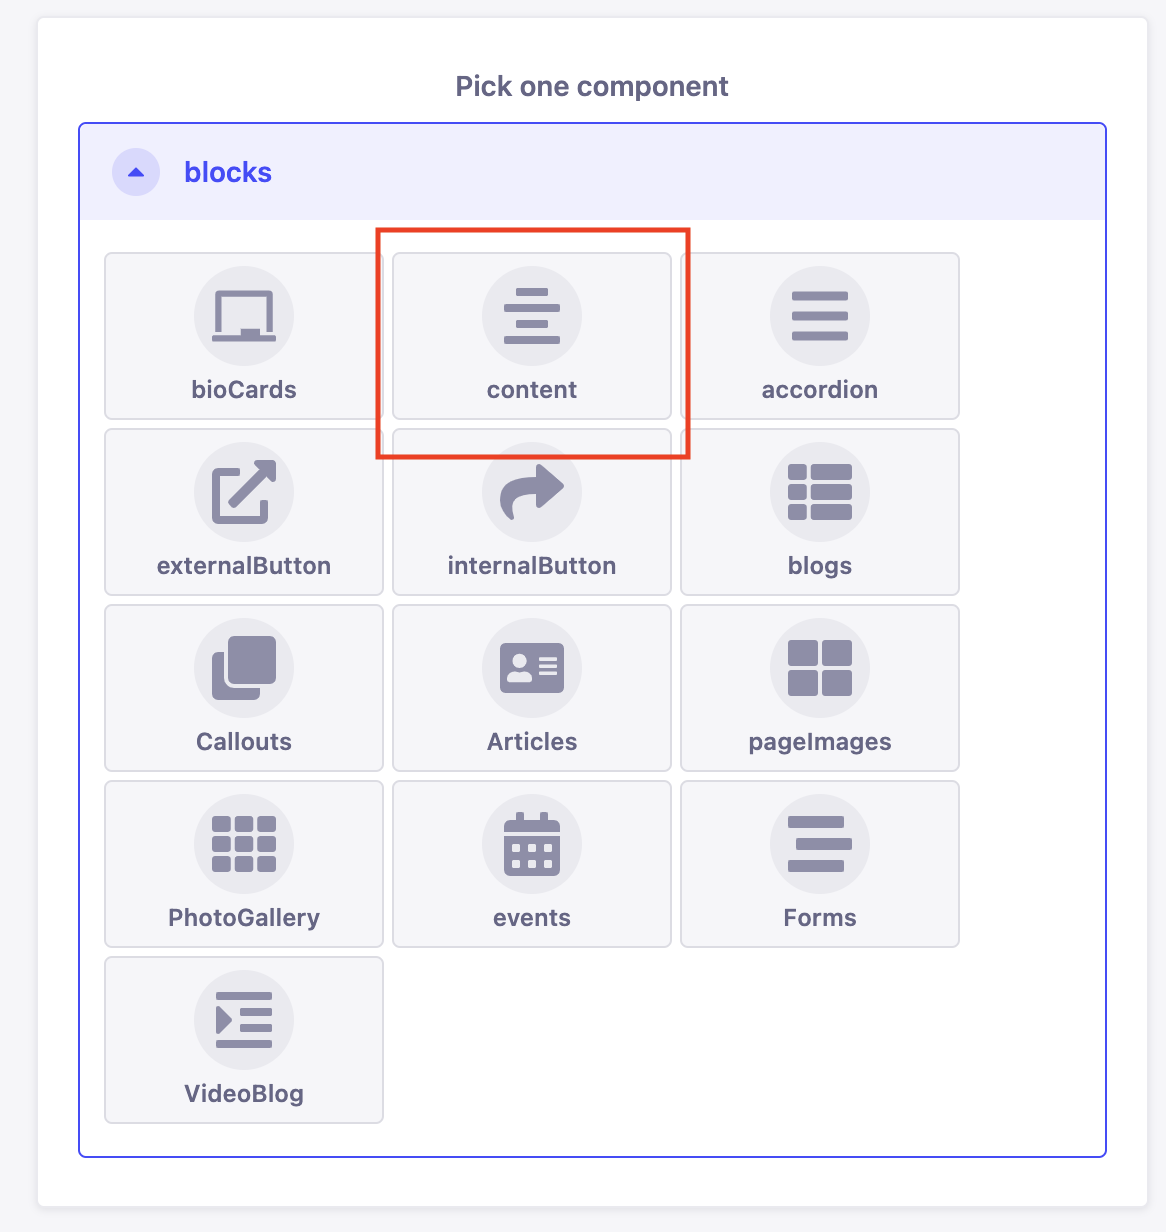
The Content component is nested under the “blocks” section on the Page and Homepage collections. To add content to a Page or the Homepage click the “Add a component to blocks” button located under the title and slug (if a page) and select the content component.
The content, alignment fields are now available. Enter content using the toolbar features and then select the alignment. The Alignment, either left or center, justifies where the content and text will be on the page.
Let’s explore more of what the toolbar has to offer:
It is best practice to use the default colors, fonts, and text sizes. Custom styling will override the automatic website styling.
Headings
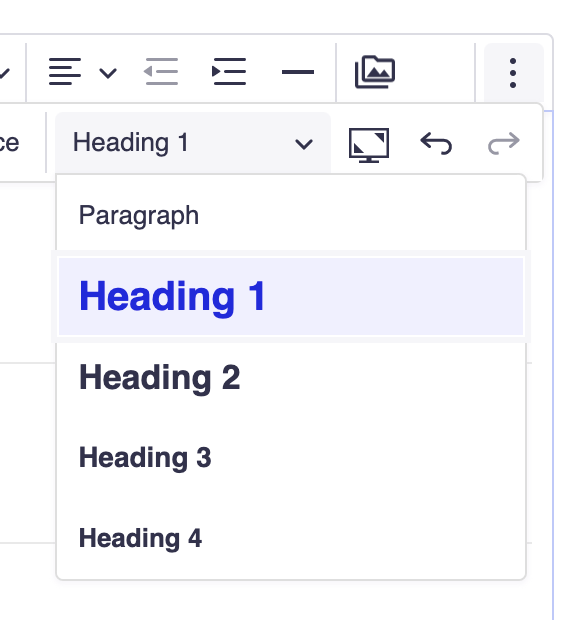
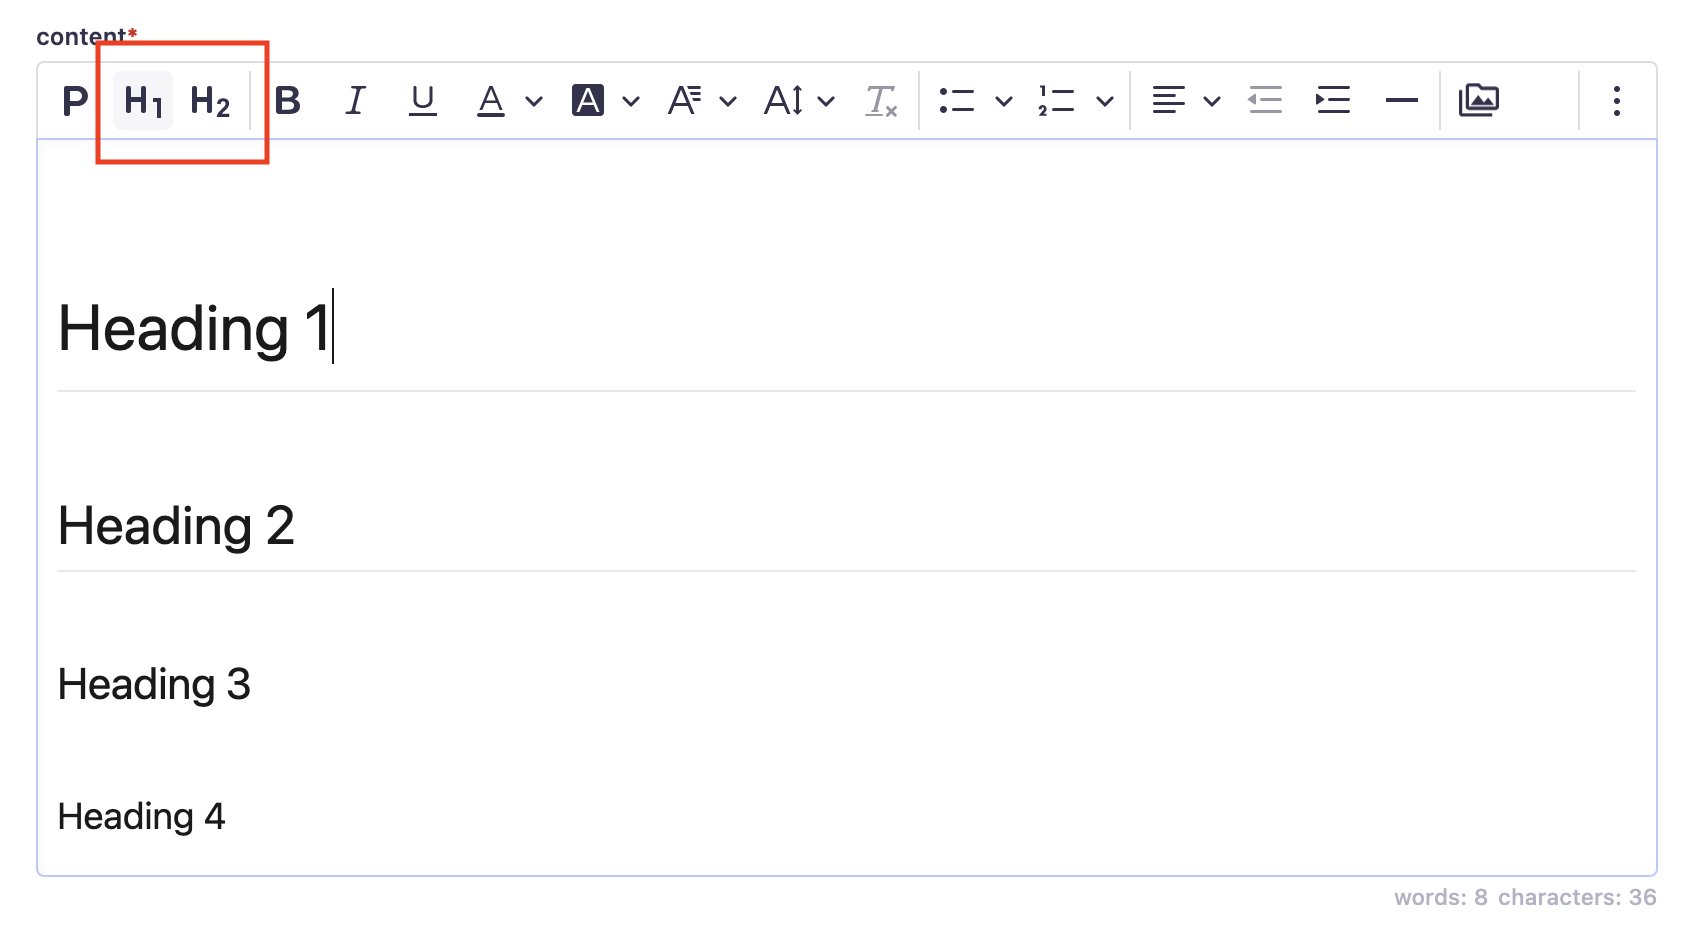
To use Headings (Heading 1, Heading 2, Heading 3 and Heading 4) you can either use the H1 or H2 elements in the top left of the toolbar or by selecting the 3 dots icon and using the dropdown to select the heading type.
Heading type dropdown:
Headings on Strapi:
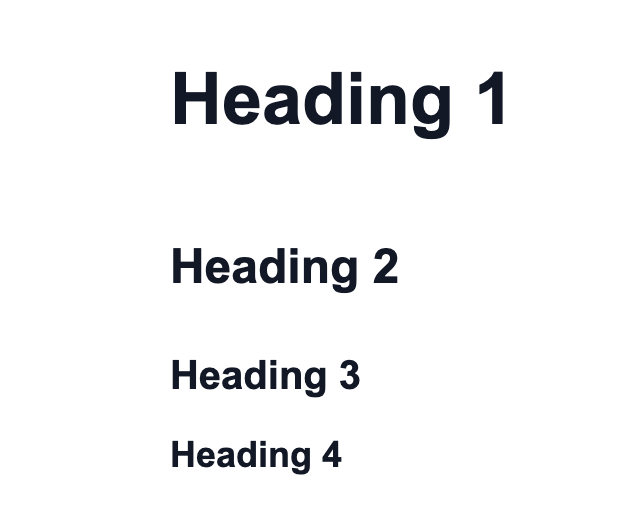
Headings on Live Website:
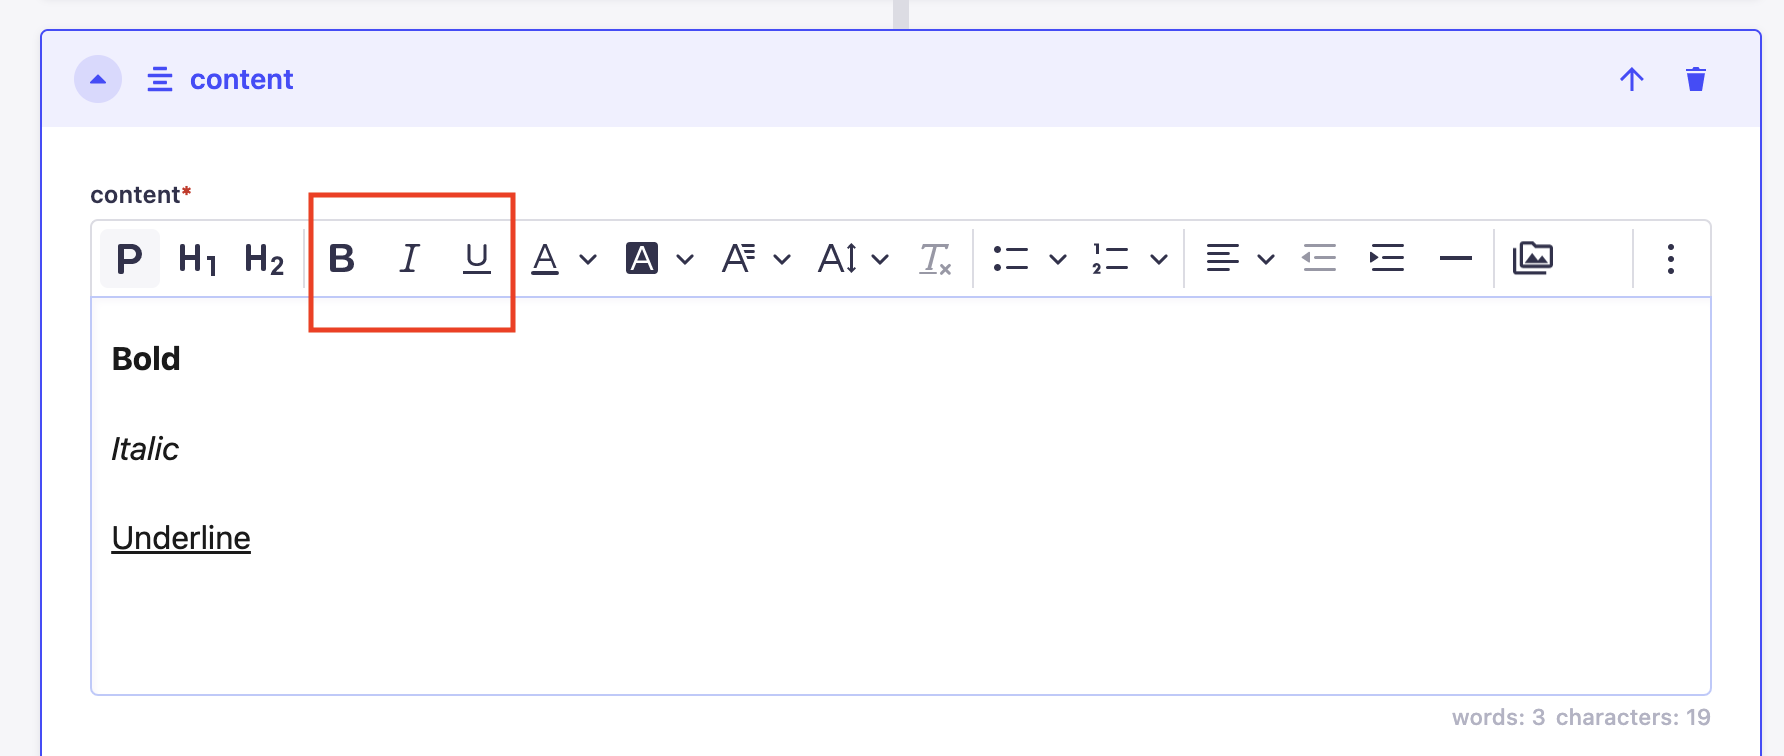
Bold, Italic and Underline
To bold, italicize, or underline text either select the bold, italic, or underline tools in the toolbar before adding text or by highlighting the text and selecting one of the tools to apply the styling.
Font styling on Strapi:
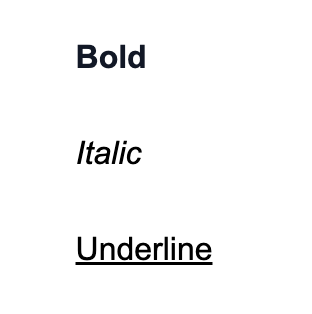
Font styling on Live Website:
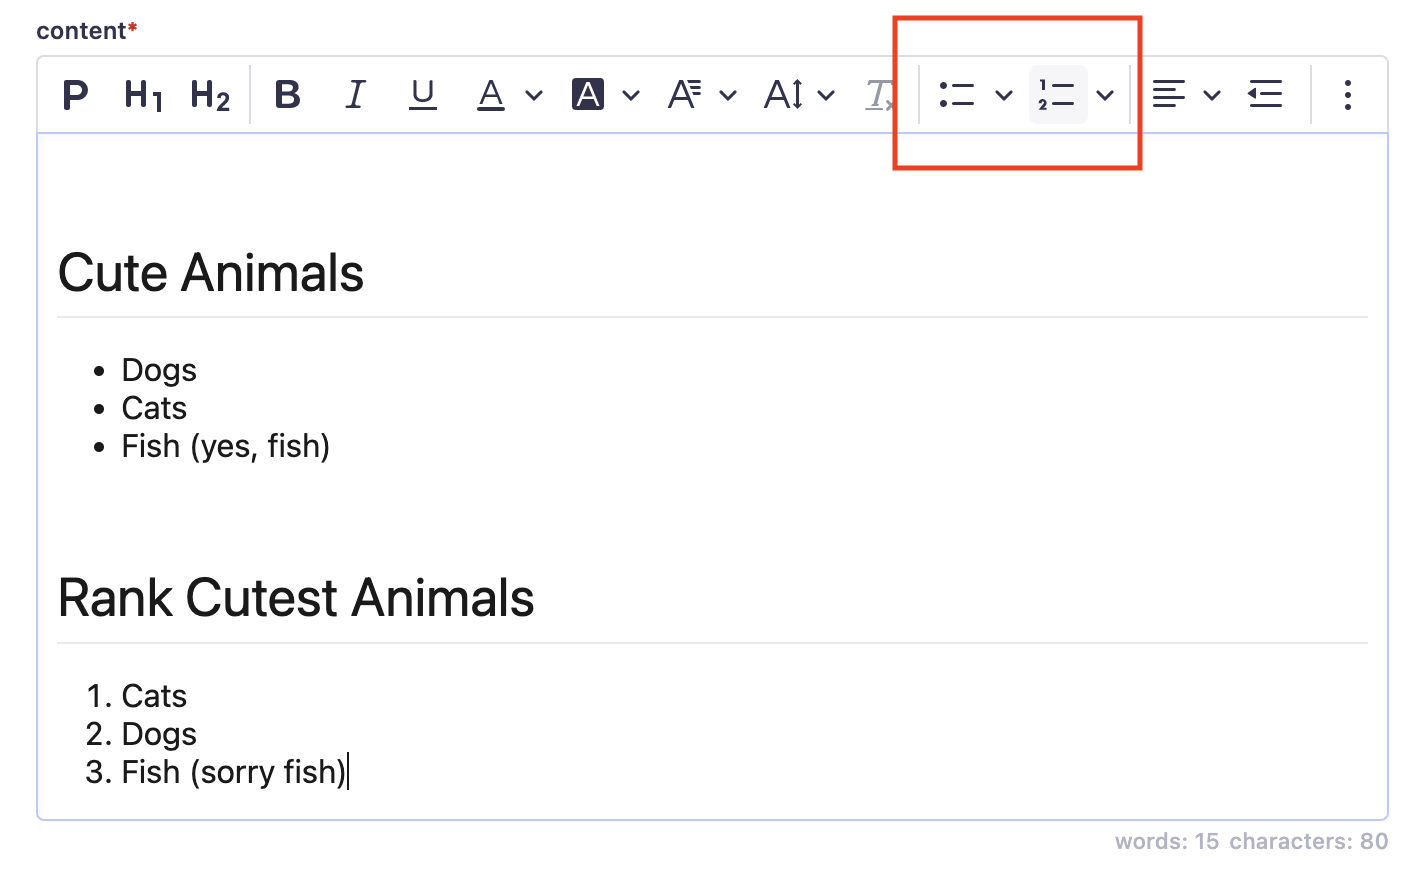
Lists
To add a bulleted or numbered list, use the tools in the toolbar before to select your list type, then add your text. Return the line to add a new bullet point or number point and return the line twice to stop using the list tools.
Lists on Strapi:
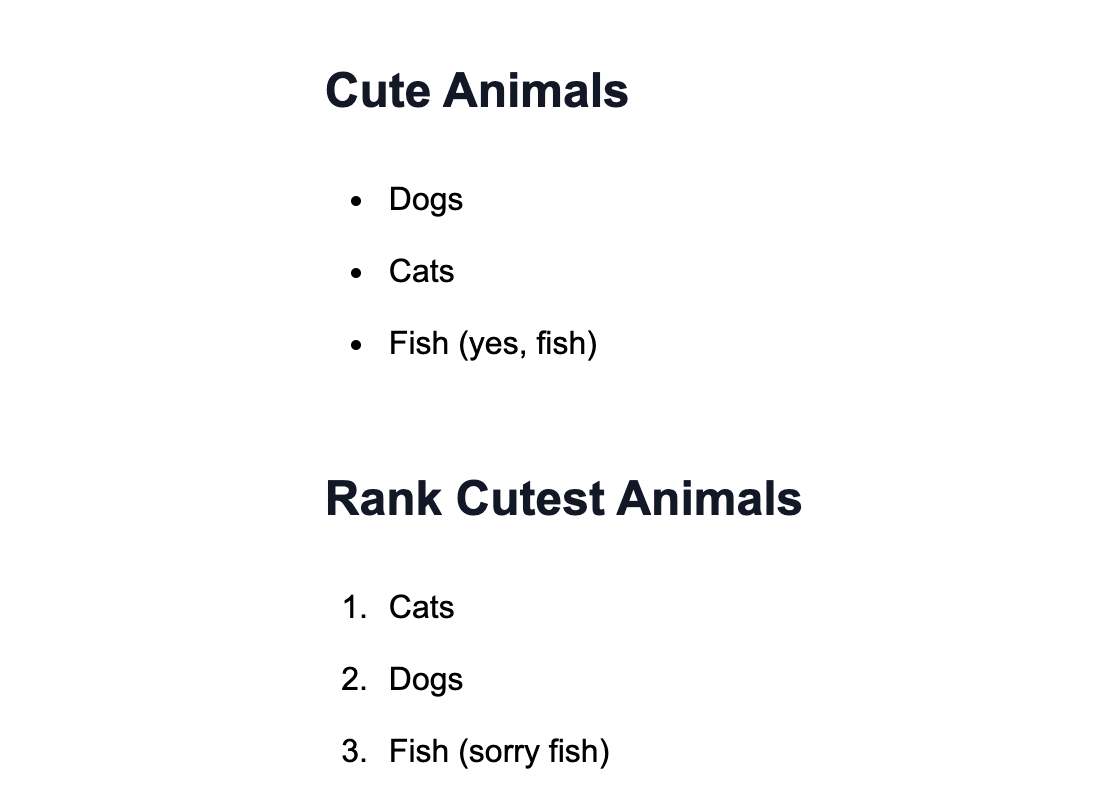
Lists on Live Website:
Hyperlinks
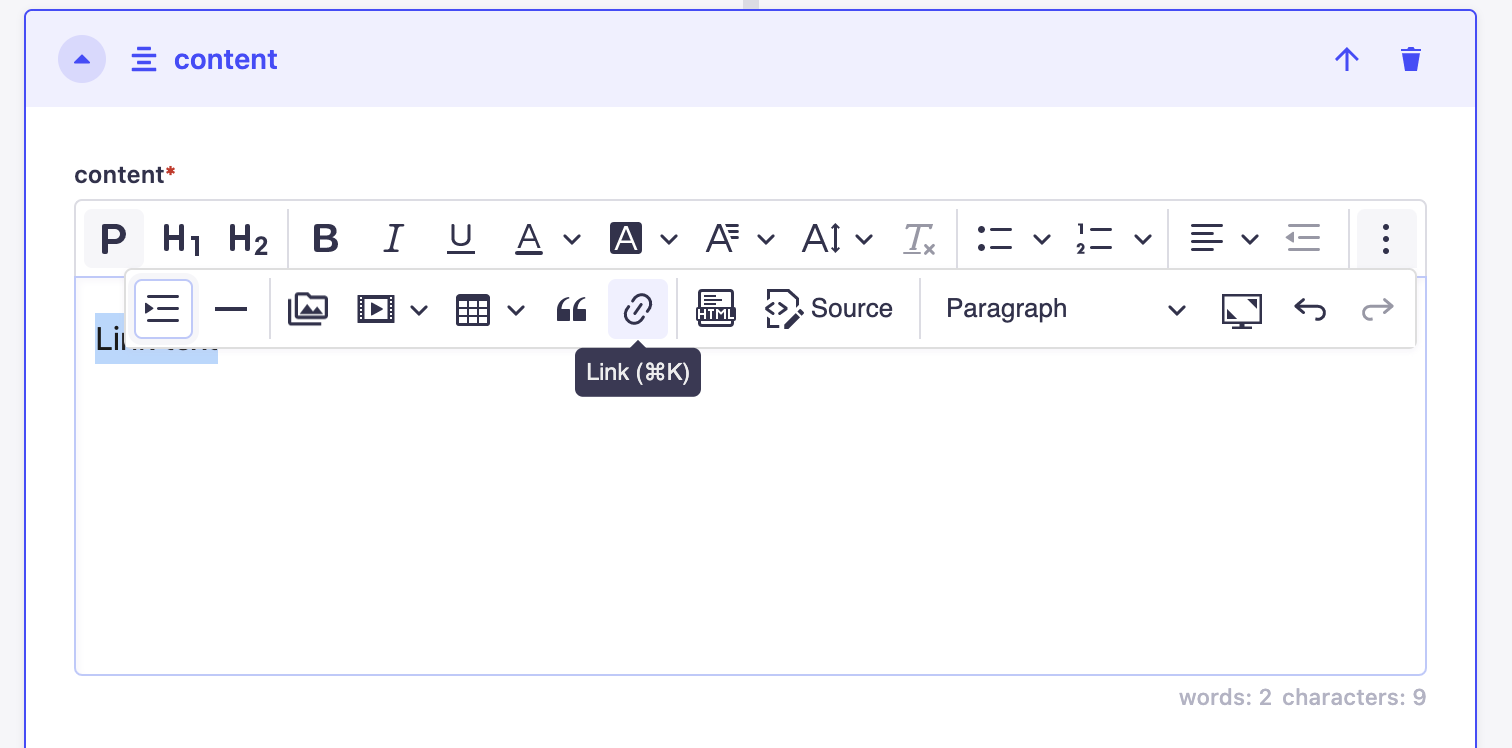
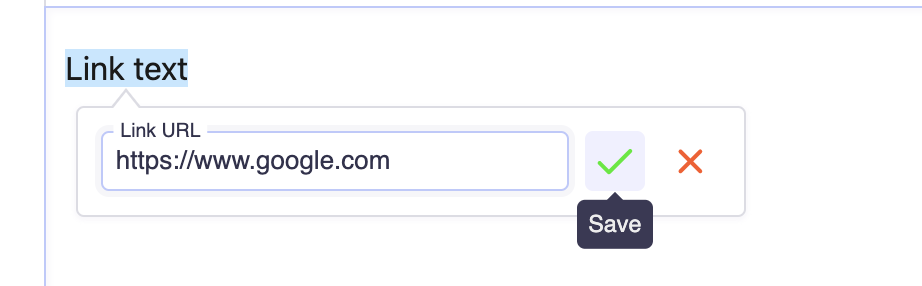
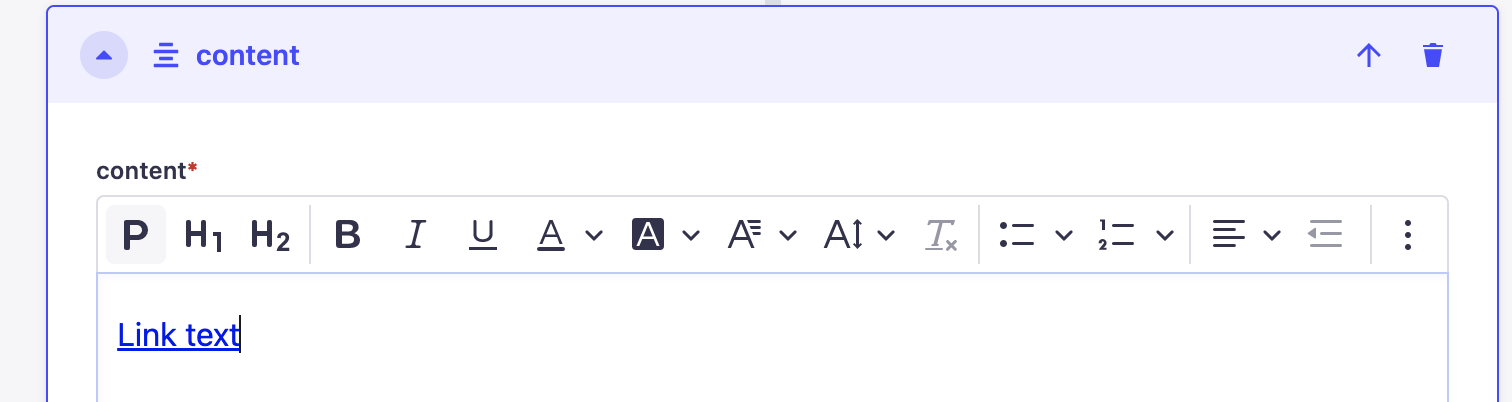
To add a link, including PDF links, enter a text that you wish to link, highlight the text you just entered, click the 3 dots icon and select the “link” icon. Enter the link and click the green check mark when finished.
Strapi Step 1:
Strapi Step 2:
Strapi Step 3:
Hyperlinks on Live Website:

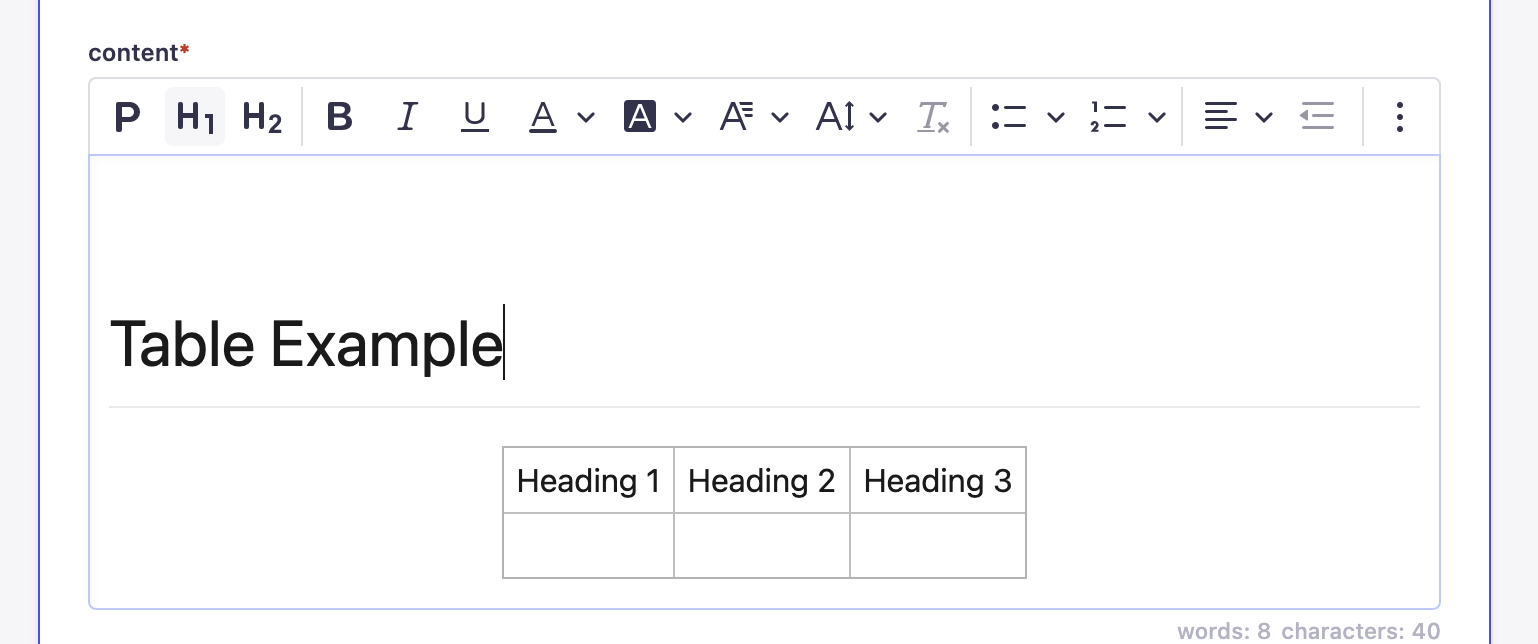
Tables
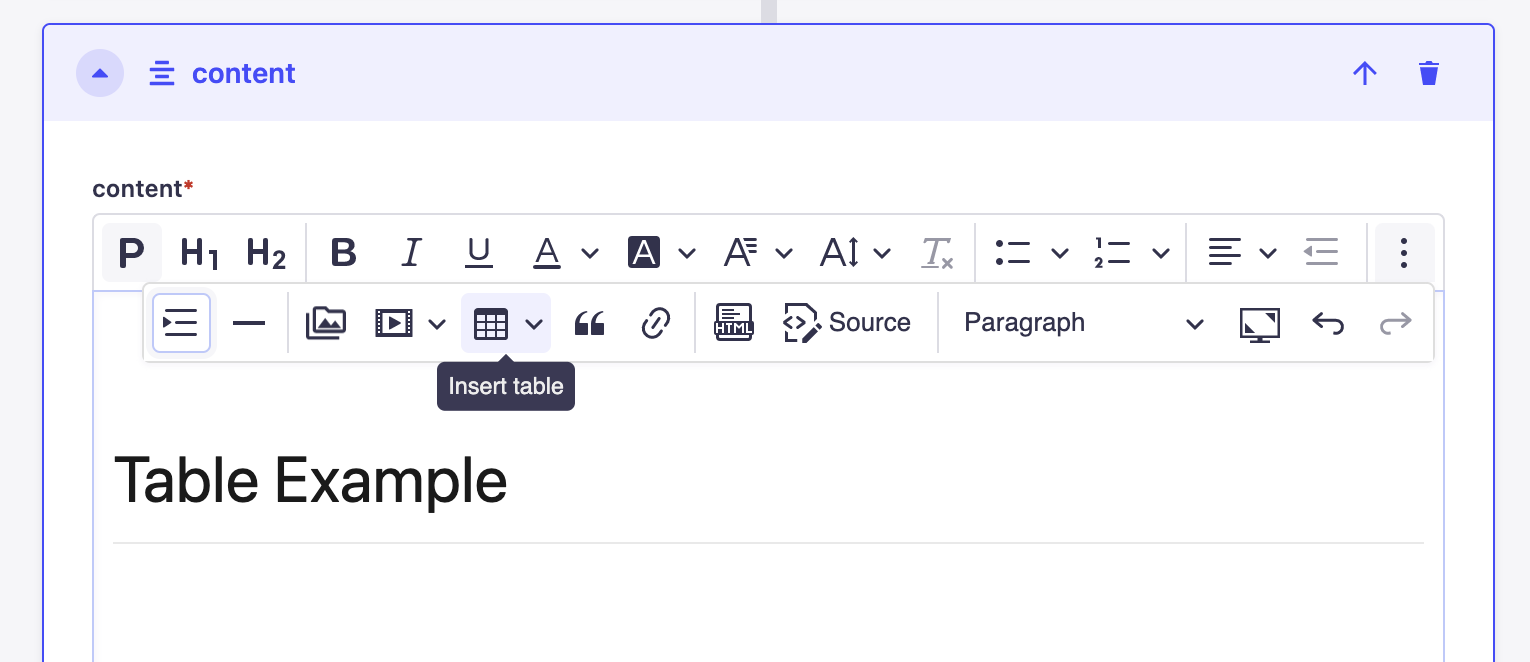
To insert a table, click the 3 dots icon and select the “tables” icon, choose the number of columns and rows for your table.
Table Tool:
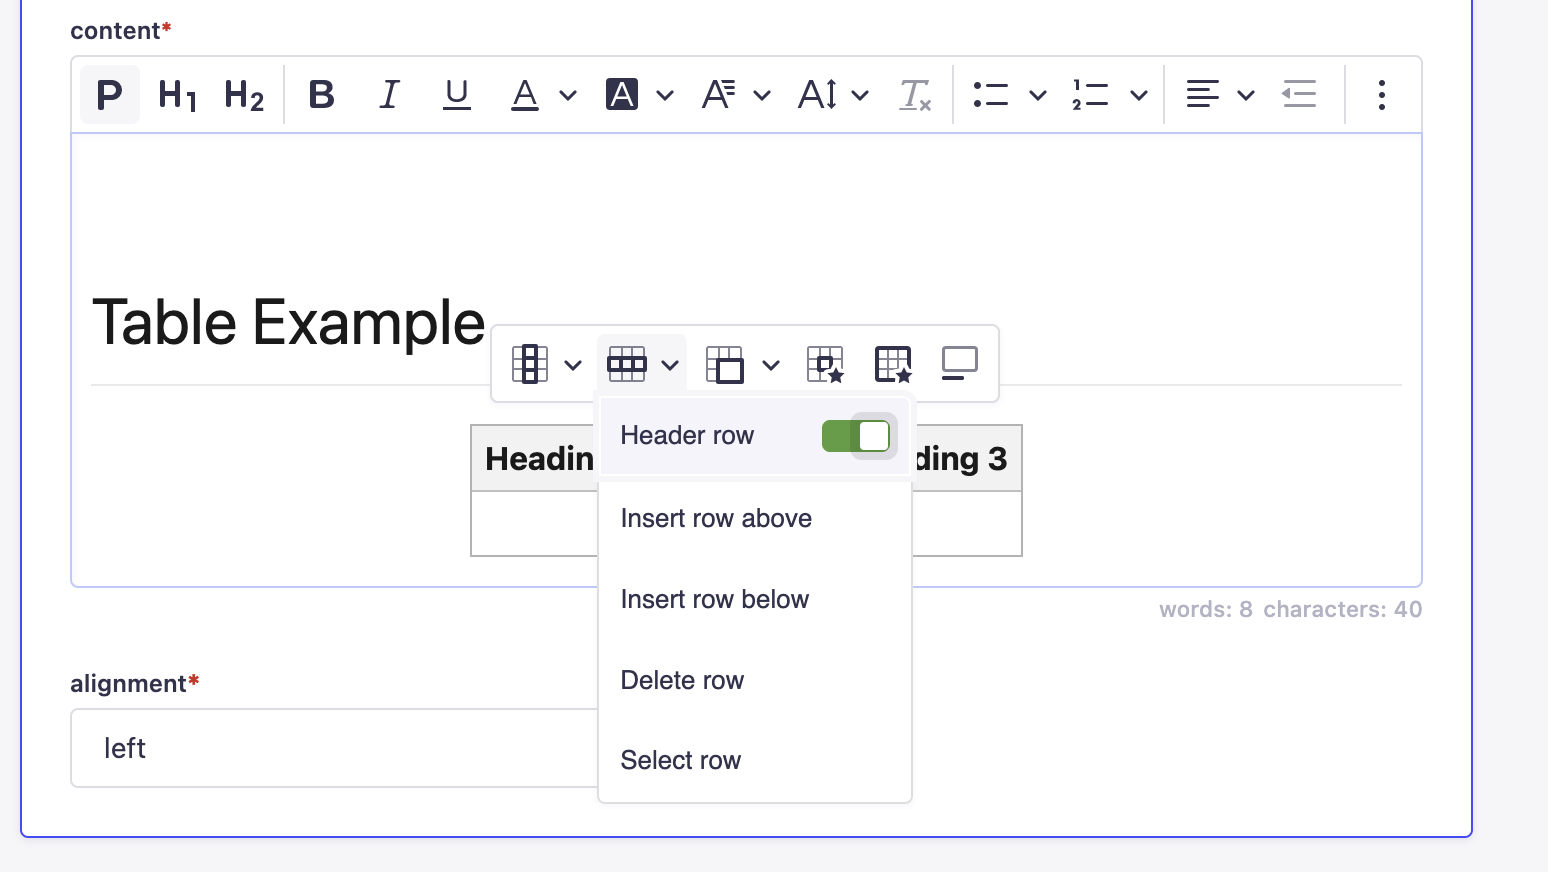
Enter your table’s header text in the first row of your table, then click the row switch on the “Heading Row” tool.
Heading Step 1:
Heading Step 2:
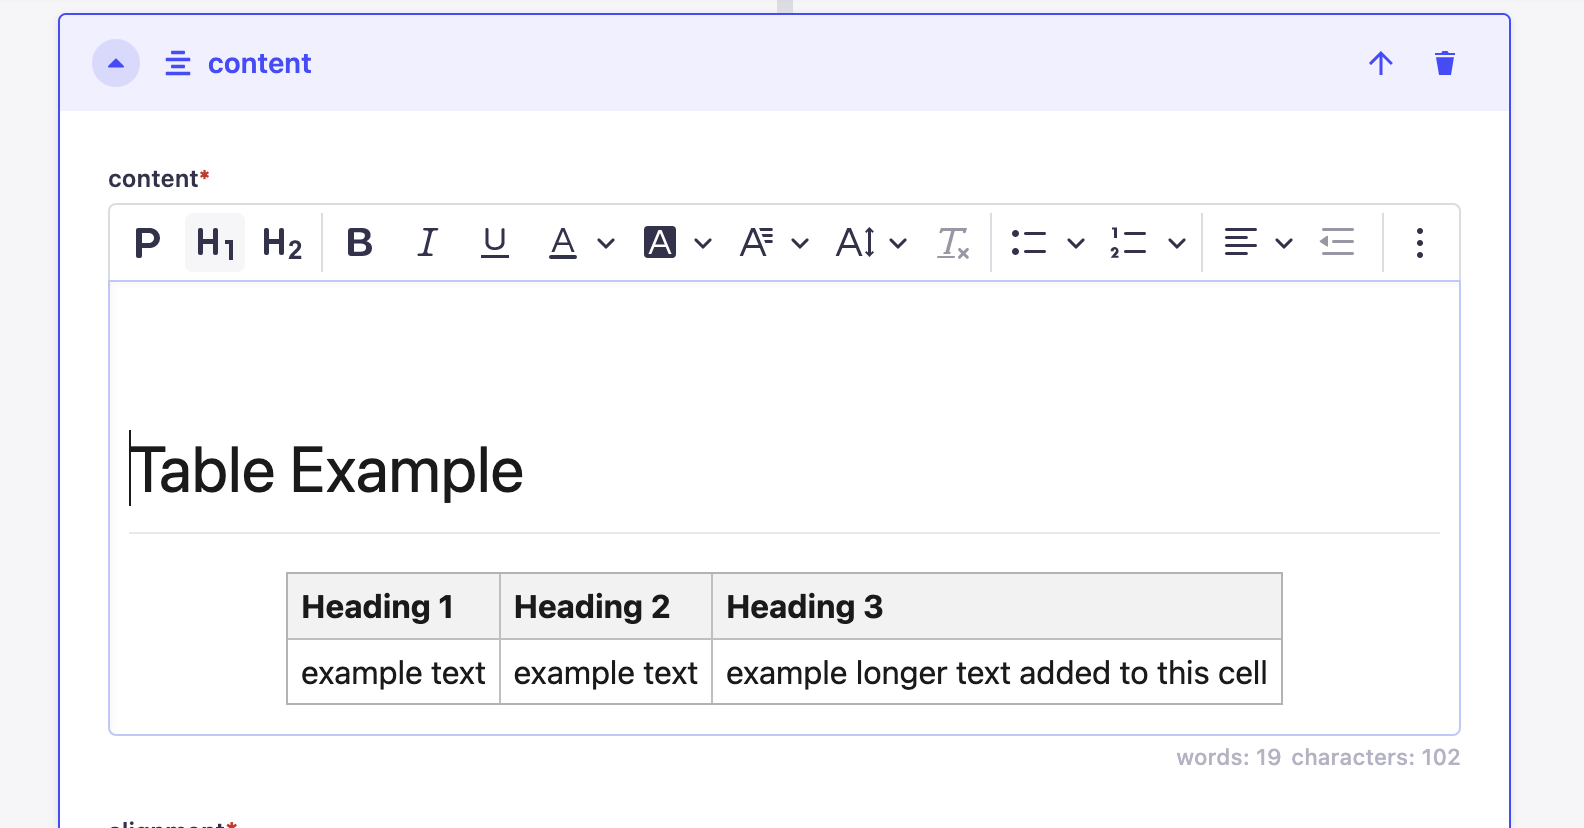
Fill out the table cells and add more rows or columns as you go!
Tables on Strapi:
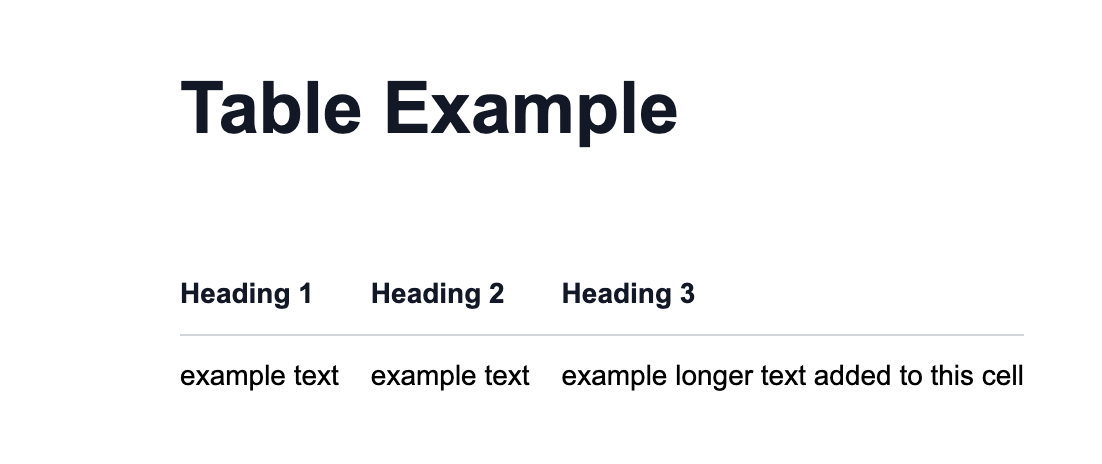
Tables on Live Website:
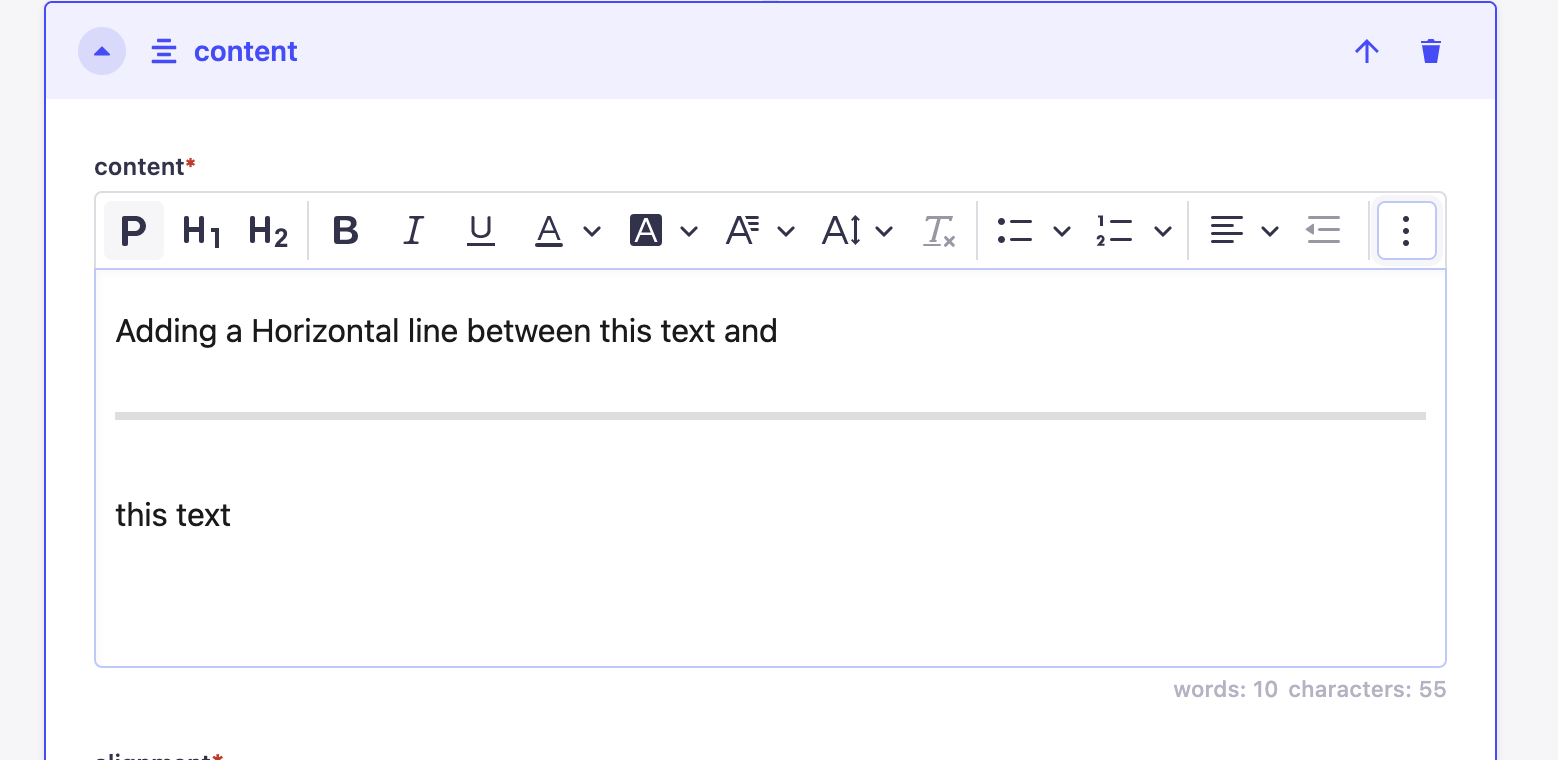
Horizontal Lines
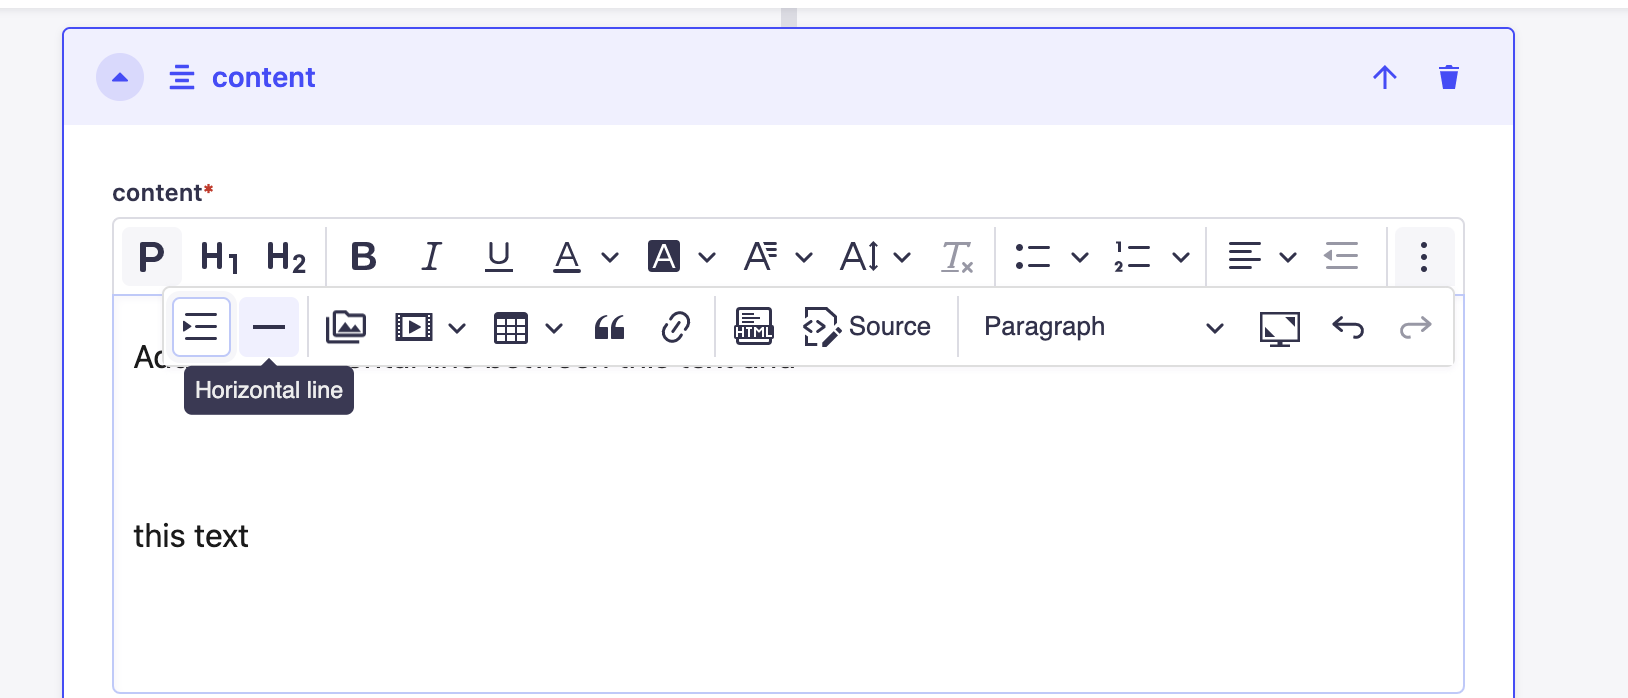
To break up some text or sections add a horizontal line by clicking the 3 dots icon and select the “horizontal line” icon.
Horizontal Line Step 1:
Horizontal Line on Strapi:
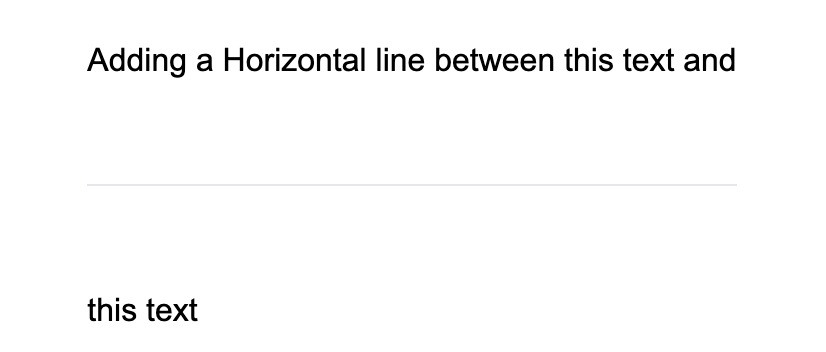
Horizontal Line on Live Website:
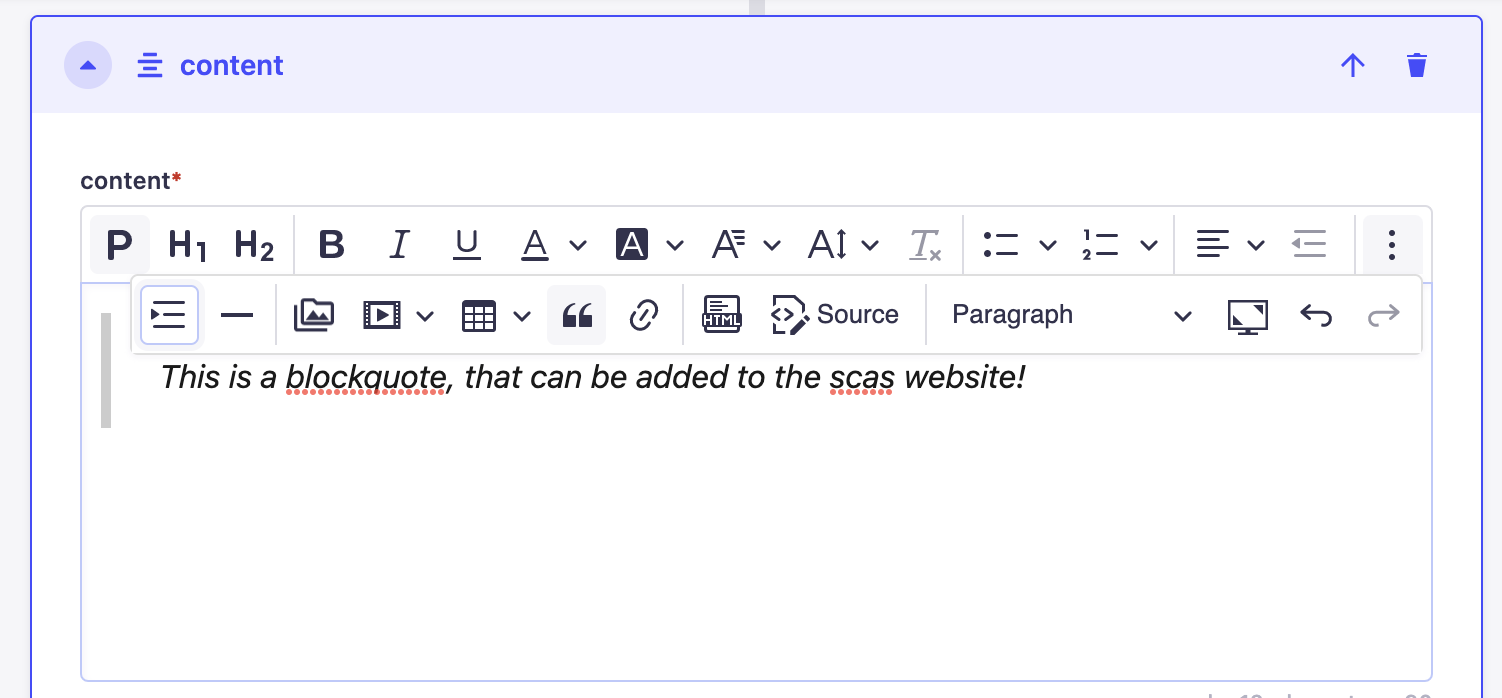
Blockquote
To add a block quote, click the 3 dots icon and select the “Block quote” icon. Once clicked enter the block quote text content.
Block Quote on Strapi:
Block Quote on Live Website:
