Publishing, Unpublishing, Editing and Deleting Pages
Publishing, Unpublishing, Editing and Deleting Pages
This section details how to update the status of the page itself. There are a few actions that deal with the state of a page: publishing, unpublishing, editing/updating and deleting. For this documentation we will be working in the Content Manager > Collection Types > Pages section in Strapi.
Publishing
After you have created a new webpage or made edits to an existing page in Strapi, your page will show a “draft” status, which means it needs to be published to be reflected on the live site.
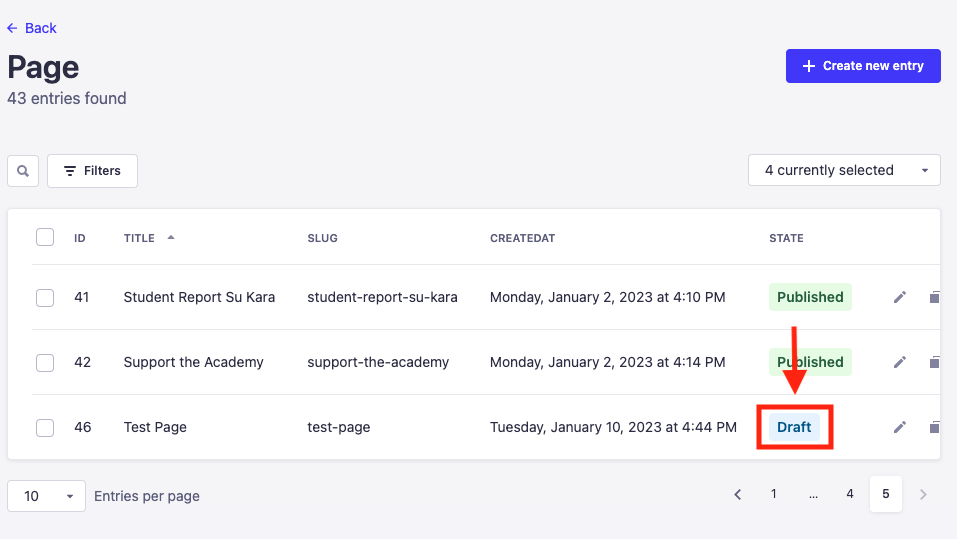
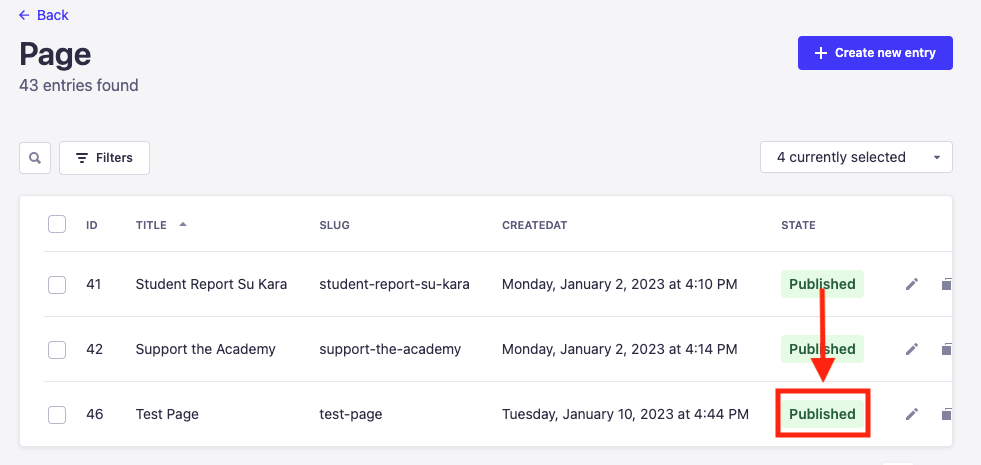
You can see a page’s status on the list of pages in the “State” column.
To publish a page, navigate to a page with the “draft” status (draft means the page is unpublished).
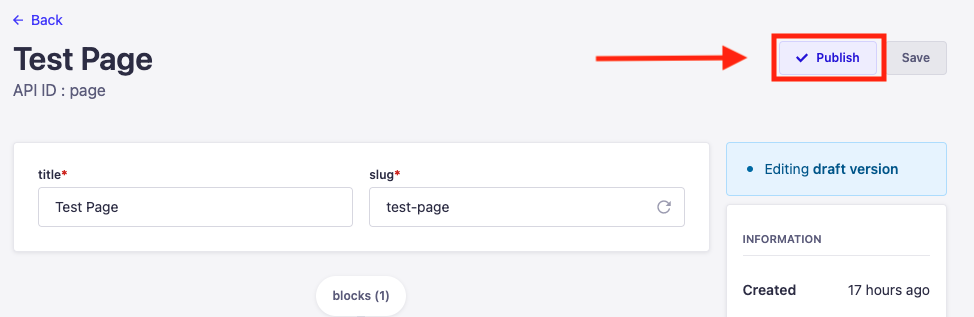
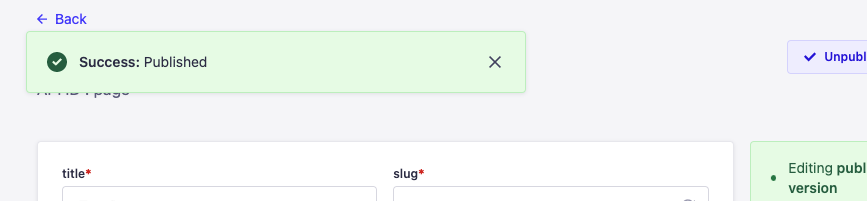
The page is now published and ready to be linked to or added to the Navbar.
To add a published page to the Navbar, use the Add published page to the Navbar documentation.
Note: The status and updates of pages will be reflected on the live site between 1 - 15 minutes. If your changes do not appear on the live SCAS website, try refreshing the live site page. If the problem persists please contact the SCAS president.
Unpublishing
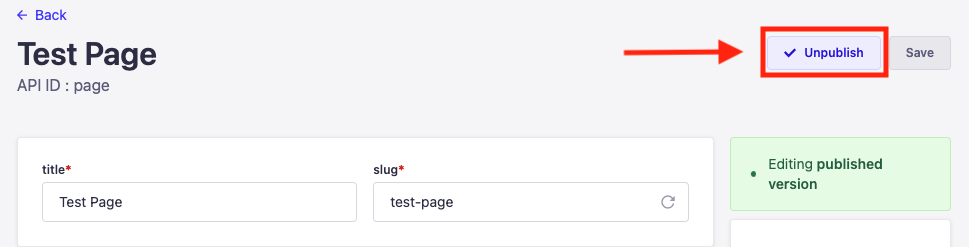
To unpublish a page, navigate to a page with the “published” status.
At the top right click the “Unpublish” button located next to the “Save” button.
Before Unpublishing, ensure all references to the page active on the live SCAS website are removed. This includes any website links and navbar items.
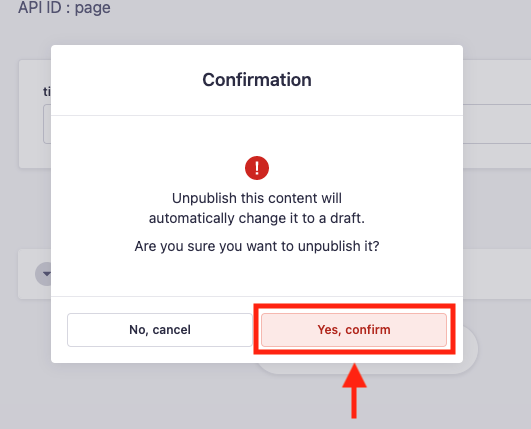
Select “Yes, confirm” to finalize the unpublish.
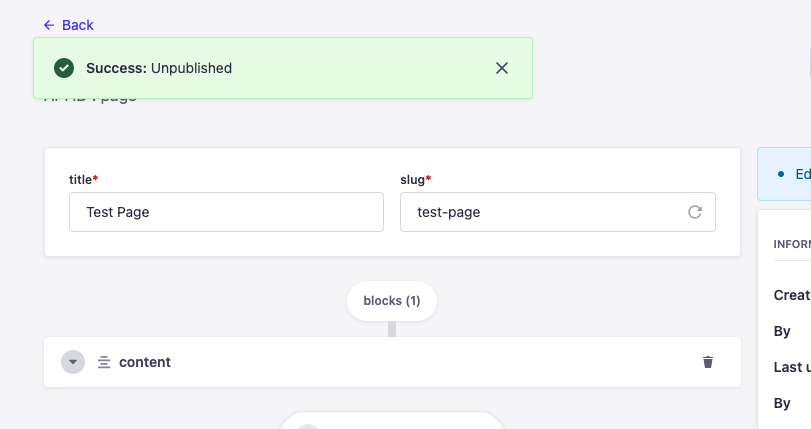
The page is now unpublished!
Editing
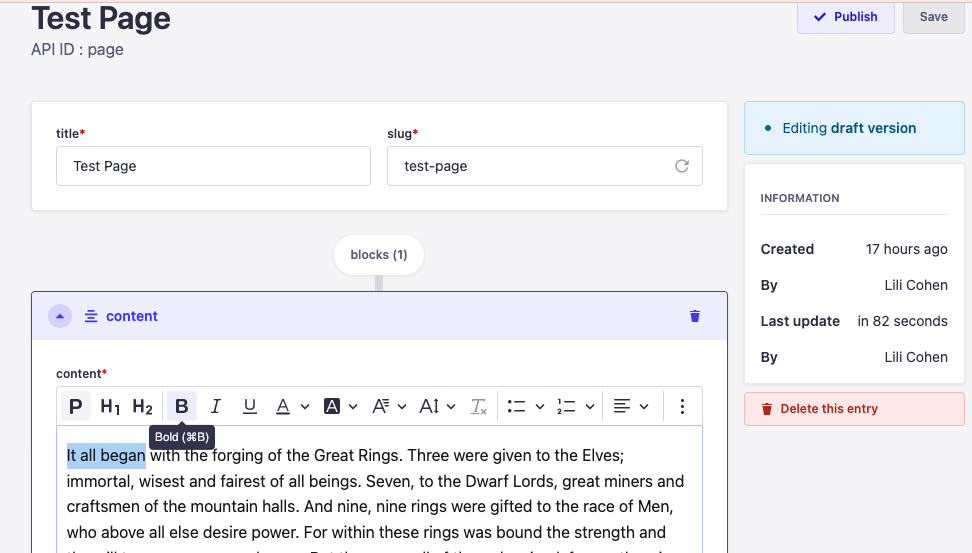
The content component is where you enter the copy / text that will appear on your webpage. This component also allows you to format text (bold, italicize, etc.) To edit a page, navigate to the desired page and edit the content/blocks that need to be updated.
Click the “Save” button at the top right to save your changes.
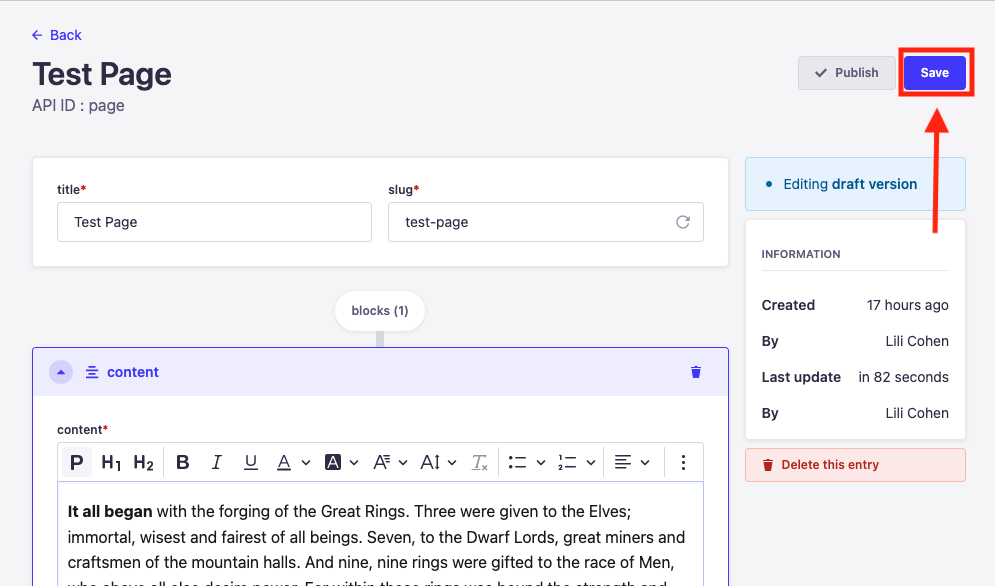
Success! Your edits are now saved.
Editing can be done on a published and unpublished page.

Deleting
There are 3 paths to deleting a page:
Option 1:
Check the box located next to the Page line you wish to delete and select the red “Delete” button when ready (this method can be used to delete multiple pages at one time) and confirm to finalize the deletion.
Option 2:
Select the trashcan icon located to the very right on the Page line you wish to delete and confirm to finalize the deletion.
Option 3:
Click into the Page entry you wish to delete and select “Delete this entry” located on the right under the “Information” box and confirm to finalize the deletion.