Local Development Installation
Installing the local SCAS development environment
This installation guide is written for Intel based machines running macOS. While most of the required software is compatible with other platforms and hardware, they often require different or additional steps than what is outlined below.
Preinstallation requirements
Check to see if your macOS is up to date.
It is best practice to use the latest version of macOS. To check if there are updates click on the Apple icon in the menu bar About this Mac > Software Update > Update Now.
GitHub configuration
Create and add a new SSH key
A detailed overview of how to add SSH keys to a GitHub can be found in GitHub’s SSH key documentation. If you already have an available SSH key, skip to step 6.
Pantheon does not support the ed25519 algorithim — use the rsa one isntead.
-
Open Terminal
-
Create a new SSH key with your GitHub email
ssh-keygen -t rsa -b 4096 -C "your_email@example.com" -
When prompted with “Enter a file in which to save the key,” press Enter. This accepts the defauly file location.
-
At the prompt (below), type a secure passphrase.
> Enter passphrase (empty for no passphrase): [Type a passphrase] > Enter same passphrase again: [Type passphrase again] -
Copy the SSH key to your clipboard with the following command:
pbcopy < ~/.ssh/id_rsa.pub -
Go to the NHMLA Account (thumbnail) > Settings > SSH and GPG Keys
-
Select New SSH key or Add SSH key
-
Paste it into the GitHub SSH and GPG Key field
-
Click Add SSH key
Generate GitHub PAT
GitHub requires the use of token-based authentification for all authentificated Git operations. Instead of using your GitHub password to perform an operation such as a git push, a personal access token (PAT), is now required when prompted for a password. A detail description on how to create a PAT can be found on GitHub “Creating a personal access token” page.
- Click on your profile photo and then click Settings
- In the left sidebar click Developer settings
- In the left sidebar, click Personal access tokens
- Click Generate new token
- Give your token a descriptive name
- Select al scopes and permissions (click all the checkboxes)
- Click Generate token
Clone git project
-
Open terminal
-
Navigate to the location where you want the cloned directory
cd <directory/path/> -
Clone project to your current working directory
git clone https://github.com/naturalhistorymuseumofla/scas.git
Install build tools
-
Install homebrew
Follow these steps for a detailed explanation of how to install Homebrew or enter the following into terminal:
/bin/bash -c "$(curl -fsSL https://raw.githubusercontent.com/Homebrew/install/HEAD/install.sh)" -
Install node.js
Ensure you are using Node version 16.16.0. There a multiple ways to install node.js. The three most popular ways are outlined in this article. While the easiest way is by using
brew(using the command below), usingnvm(node version manager) to install node is recommended for better version control management.brew install nodeTo ensure that node was installed properly run the node version command in terminal and the response should show the version (ex: v16.16.0)
node -v -
Install postgresql in terminal
In order to export the postgres database on the live digitalocean website to use on your local database, intall postgresql on your terminal with the following command.
brew install postgresql -
Dowload the postgresql app for Mac
Navigate to postgresql download and dowload the latest Universa release. Follow the download steps by adding the app to the Applications folder and initialize the default PostgreSQL on port 5432. Ensure to copy the following in the .env file as well.
DATABASE_HOST=<host>
DATABASE_PORT=<your_port_number>
DATABASE_NAME=<your_db_name>
DATABASE_USER=<your_username>
Starting Strapi locally
In your terminal navigate to the directory you cloned the scas repo to, then navigate to the backend folder. The backend folder is where the strapi configuration is located.
cd <scas/backend>
Now install the packages using the following command:
npm run install
This will have installed all the required packages necessary to start the strapi cms locally. To view the end user, frontend website locally you must first run the strapi, backend website locally. You will also need the most to export the live strapi database and import it locally to your postgresql database. The commands pg_dump and pg_restore are run to export the live database and import to the local database all in your terminal.
First you must export your live database. You can find the db_dump information in the digitalocean databases section under the scas associated managed database. To check what username and db name the scas app is using, navigate to the digital ocean apps section, locate apps, and search through the db connection settings.
pg_dump
pg_dump -h <your_db> -U <db_username> -p <port_number> -Fc <db_name> > <path_to_dump_file.pgsql>
Once you see your dump.pgsql file, import it to your local database. Ensure the postgresql app is started and running, you will see a green check mark at the top if it is. Then, set your environment variables to your postgresql local username and database configurations then run the command below.
pg_restore
pg_restore -U <localdb_username> -d <localdb_name> < <path_to_dump_file.pgsql>
In addition to the local database you will also need environment variables for local use. Create a .env file in the root of the backend directory and copy and paste the environment variables (most likely provided by your supervisor).
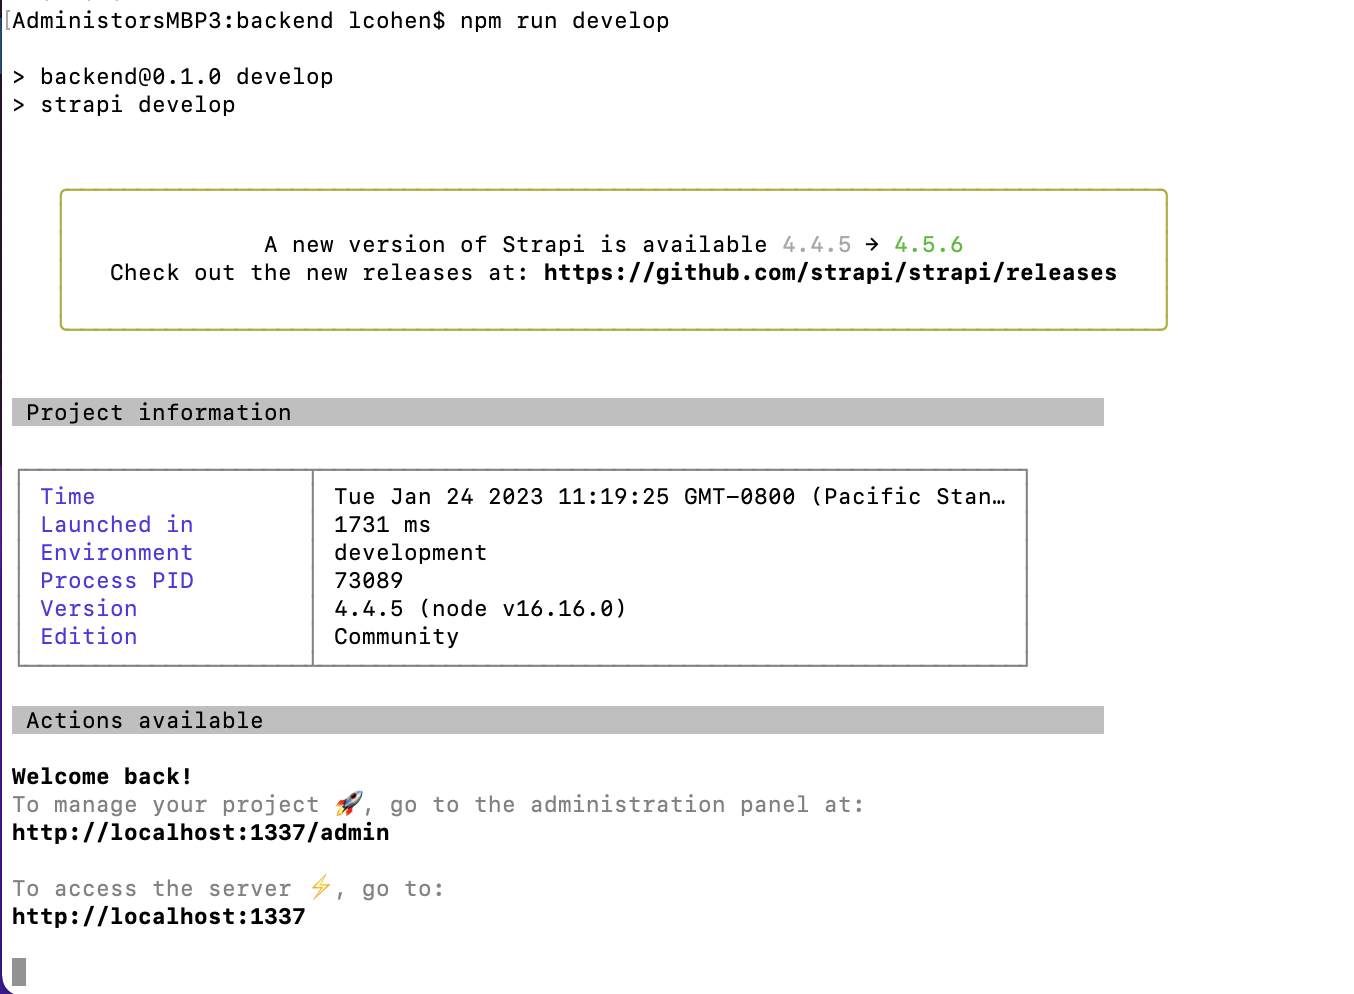
You are now ready to start the local development server. Run the following command in the backend directory:
npm run develop
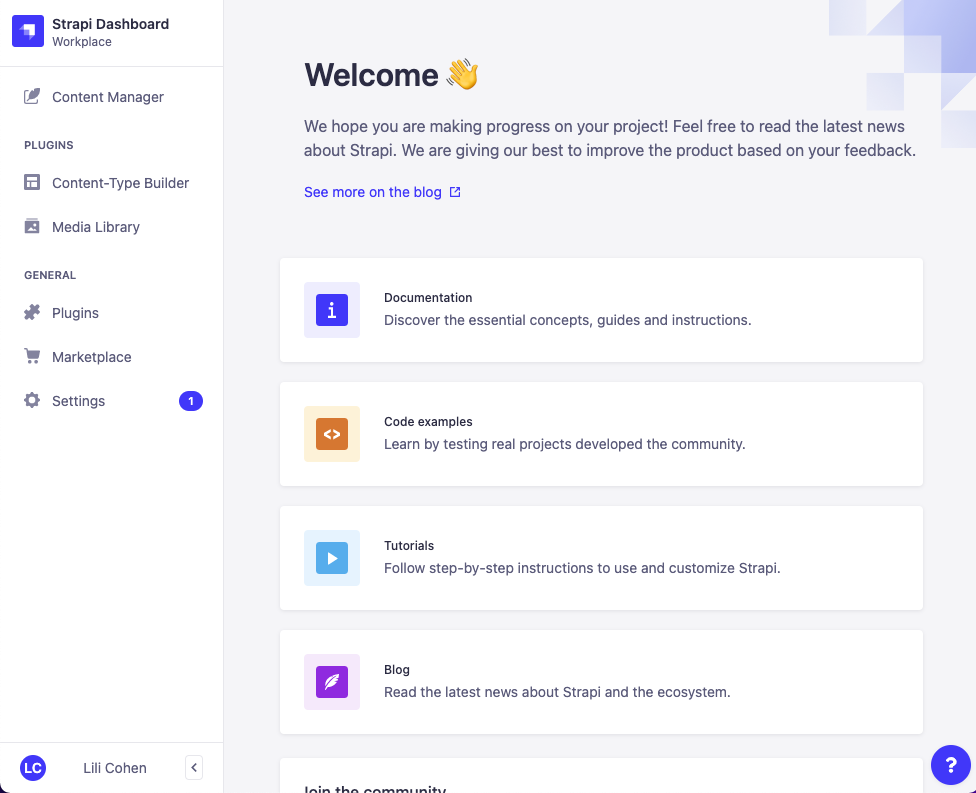
Terminal will have started the strapi cms locally and you can now navigate to http://localhost:1337 or http://localhost:1337/admin.
Begin creating your administrator login account by entering your name, email, password and continuing to respond to the Strapi prompts. You will now have access to the strapi backend!
Starting Next.js locally
In your terminal navigate to the directory you cloned the scas repo to and then to the client folder. The client folder is where the frontend configuration is located.
cd <scas/client>
Now install the packages using the following command:
npm run install
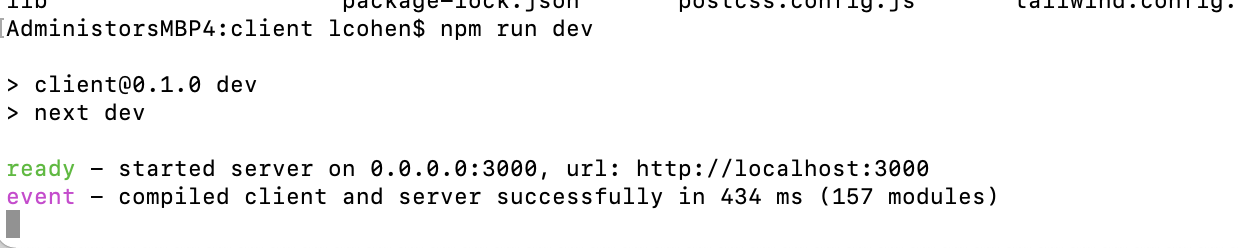
This will have installed all the required packages necessary to start the frontend locally. You are now ready to start the local development server. Run the following command in the client directory.
npm run dev
Terminal will have started the client (frontend) locally and you can now navigate to http://localhost:3000.