
City Nature Challenge ArcGIS Workflow
Intro
This guide explains the workflow to upload, update and manage the ArcGIS Online hosted feature layer for the WordPress cities list and map.
Uploading data
New data can uploaded to ArcGIS Online in the form of a csv file (other formats, such as Excel files), may cause formatting issue.
New data is meant to be uploaded on an anual data when a spreadsheet of all participating cities and their coordinates have been compiled by the CNC organizers.
Before following the steps, ensure that the new data has the exact same columns as the example table below:
| city | state | country | latitude | longitude | url |
|---|---|---|---|---|---|
| San Luis | San Luis | Argentina | -33.29501 | -66.33563 | https://example.com |
| Klagenfurt | Carinthia | Austria | 46.623994 | 14.308156 | https://some-site.com |
If the new data follows the same schema as above, follow the steps under “Overwriting”. If the new data follows a different schema as above, follow the steps under “Creating a new feature layer”.
Overwriting data
-
Sign into you ArcGIS Online account
-
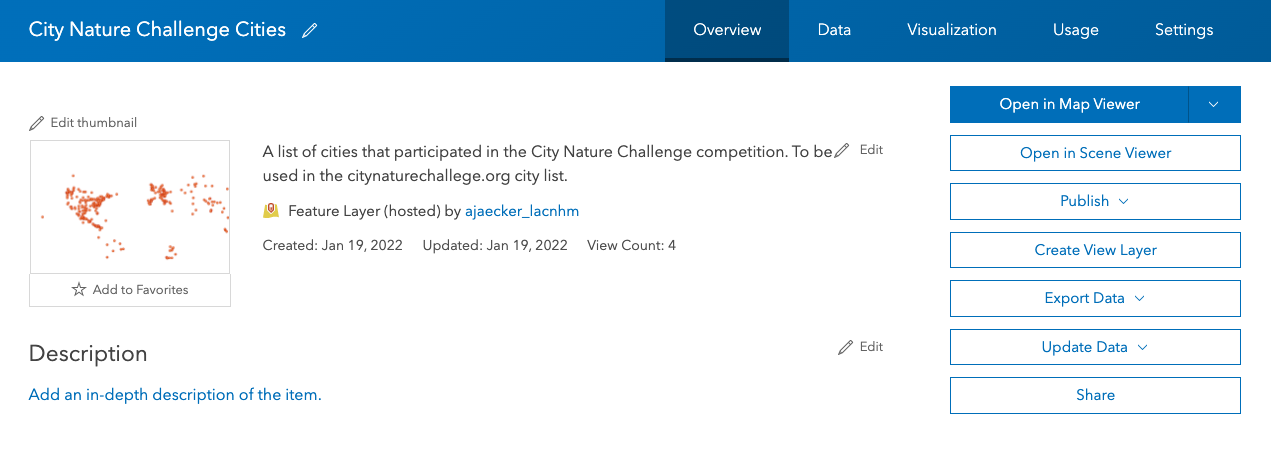
Navigate to the City Nature Challenge Cities feature layer (the page should look similar to the photo below)
-
Select Update Data > Overwrite Entire Layer (located to the right)
-
Upload the csv containing the new data with the same name as the original csv file (listed in the Overwrite popup dialog)
Make sure that any csv file uses UTF-8 encoding to ensure that special characters (i.e. “ā” or “ß”), properly display
Creating a new feature layer
In the case that new fields (i.e. columns) need to be added to the city list, a new feature layer will need to be created. Below are the steps to do so:
-
Sign into your ArcGIS Online account
-
Open Content > My Content > New item > Your device
-
Select the csv with the new CNC city list
Make sure that any csv file uses UTF-8 encoding to ensure that special characters (i.e. “ā” or “ß”), properly display
-
Sekect the file and click Open
-
Choose Add CSV and create a hosted feature layer
-
Click Next
-
Review the fields and make changes as needed
-
Click Next
-
Choose Latitude and longitude to locate features
-
Click Next
-
Choose a title (such as “City Nature Challenge 2022”)
The title must be unique across your ArcGIS Online content
-
Choose a folder in My Content to save the item
-
Choose “CNC” in the Assign categories box
-
Click Save
-
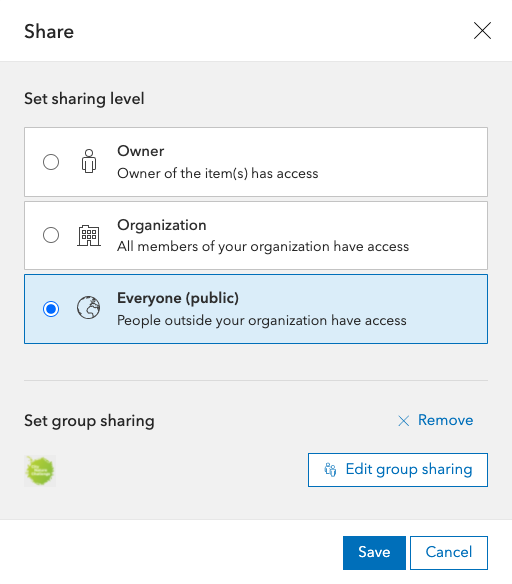
Click the Share button (you should a popup similar to the photo below)
-
Set the sharing level to Everyone (public)
-
Click Edit group sharing
-
Select City Nature Challenge and click OK
If you do not see City Nature Challenge, ask your ArcGIS Online admin for access to the group
After creating a new feature layer, make sure to communicate with the web development team so that they can link the new feature layer to the WordPress site or follow the steps in Adding a new feature layer to the city list map.
Adding a new feature layer to the city list map
The city list and map both consume a feature layer hosted on ArcGIS Online (referenced in the above steps). To change out the feature layer used in the WordPress site, follow the steps below:
-
Open the appropriate
.phpfile used for the city list template -
In the
scripttag there should be reference to anew FeatureLayerobject (see below)// Feature layer created from JSON of participating cities const citiesLayer = new FeatureLayer({ url: "https://services3.arcgis.com/pIjZlCuGxnW1cJpM/arcgis/rest/services/City_Nature_Challenge_Cities/FeatureServer", ... }); -
Change the url property of the FeatureLayer object to the new feature layer’s service URL
The feature layer’s new service URL can be found on its content page in ArcGIS Online in the lower right-hand corner (see below)

- Make sure that the field names on the new feature layer are the same values stored in the following variables (declared at the top of the script element):
cityFieldstateFieldcountryFieldurlField
- Upload the
.phpfile to the server’s theme folder